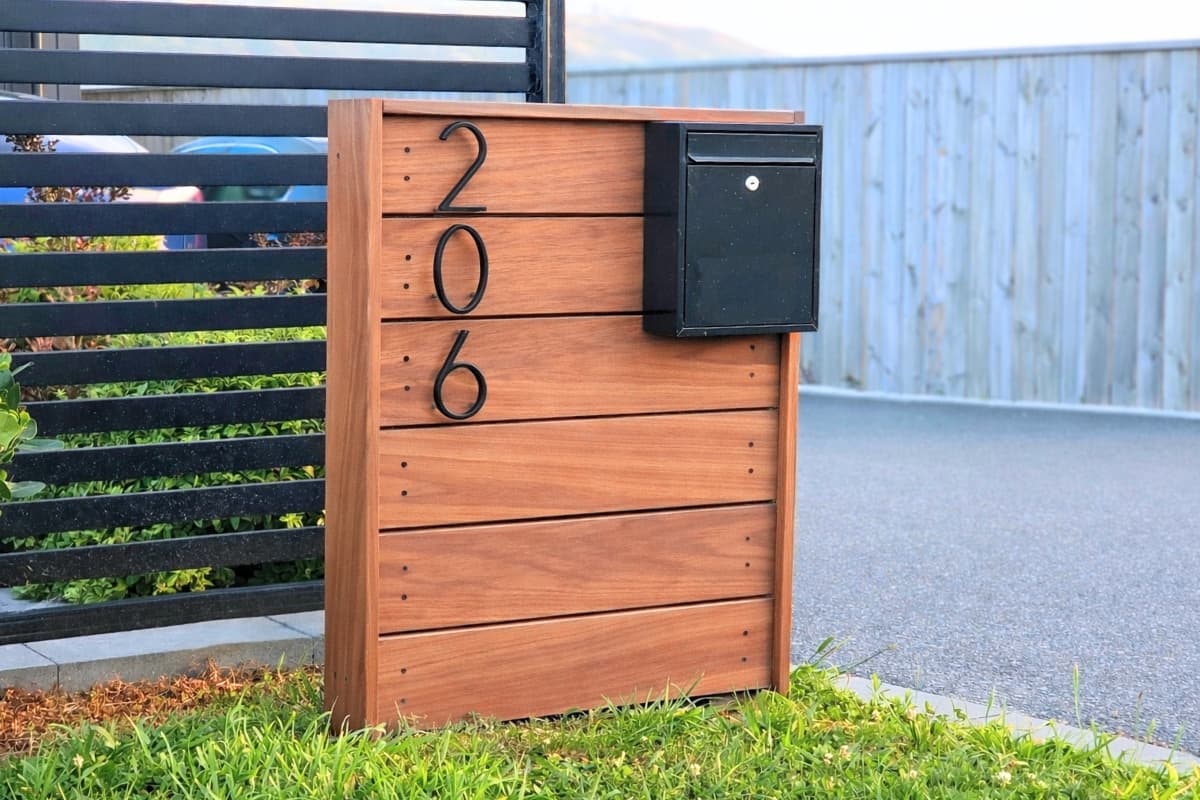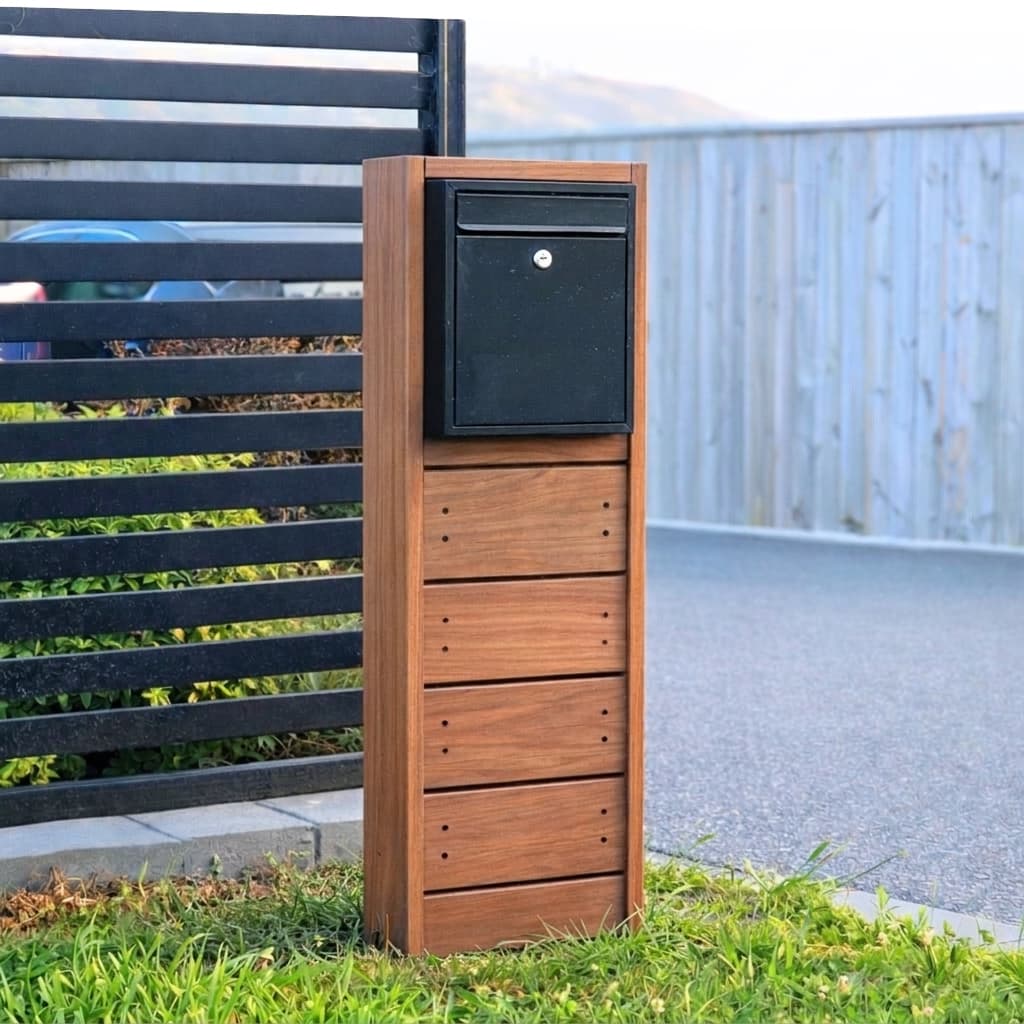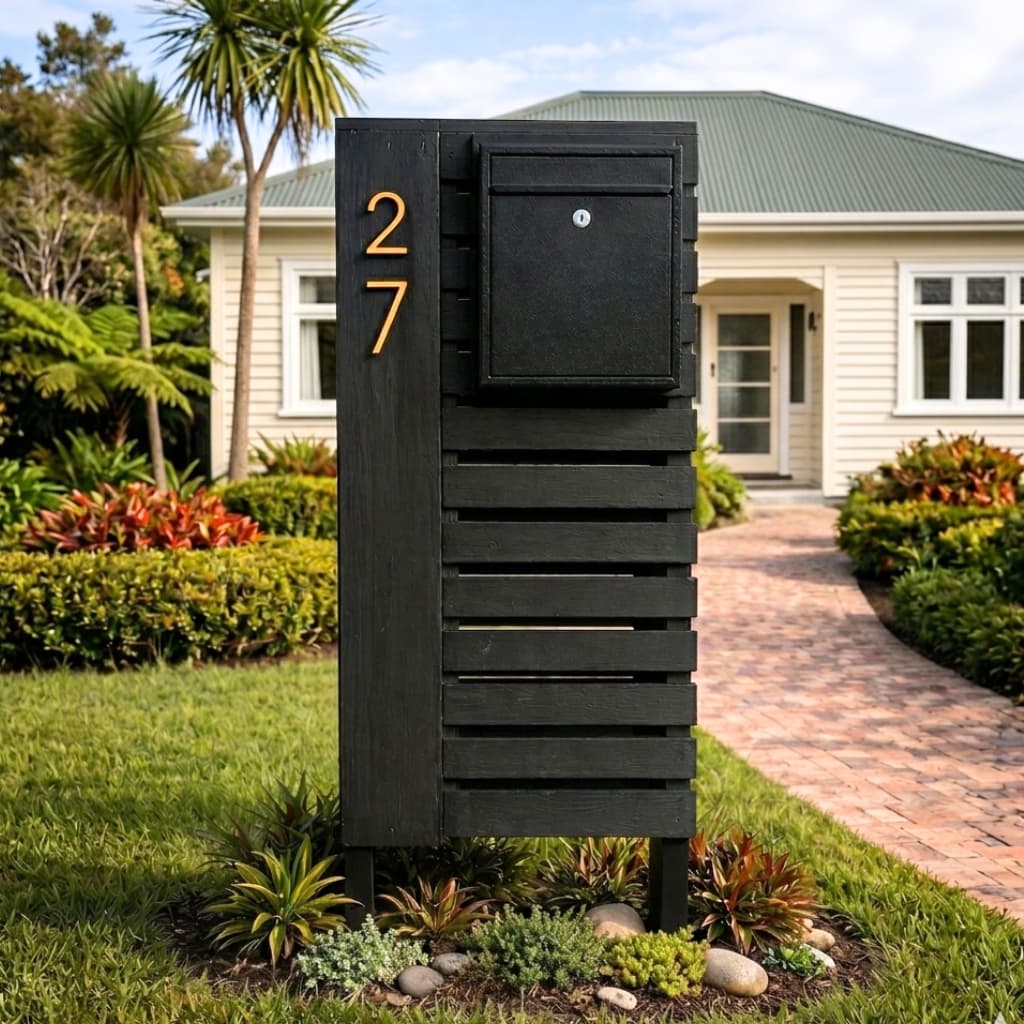
Our freestanding wooden letterboxes are designed to be a standout feature. The wooden freestanding letterbox comes assembled. Just follow the below instructions to install it where you want.
TOOLS REQUIRED
- Post-hole borer or spade
- Spirit level
- Tape measure
MATERIALS
- Quick-set concrete (1-2 bags)
- Drainage gravel/metal
- Clean water
Mark Your Spot
Check for underground services first. Aim for a mail slot height of 90cm–120cm for easy NZ Post access.
Dig the Base
Dig two holes 35cm deep and 20cm wide. Pour 5cm of gravel in the base to ensure the timber legs don't sit in stagnant water.
Level & Position
Place the legs into the holes. Use your spirit level to check both axes. Secure with temporary props to keep the unit at a 30cm depth.
Concrete Set
Add water then dry mix (per bag instructions). Agitate to remove air. Pro Tip: Mounded concrete above ground level prevents pooling around the timber.
Maintenance: To preserve the premium designer look of your timber letterbox, apply a fresh coat of timber oil every 12–18 months.